
There is no faster way to look “steampunk” than a pair of goggles. They sit at the intersection of everything the genre loves: Victorian engineering, aviation, mad science and a bit of industrial grit. The best part? You can build a convincing pair in under an hour — often for close to nothing.
This guide covers three ways to make steampunk goggles: a fast cardboard version, a solid can-lid build and a premium upgrade of welding goggles. Pick your mission profile and start building.
New to the genre? Start with our complete guide on how to make a steampunk costume — goggles are Step 3 of the full outfit.
What You Need to Make Steampunk Goggles
The full build is flexible, but this is the standard kit:
- Goggle base: welding goggles, aluminium can lids, or cardboard (2–4 mm)
- Strap: old leather belt or faux leather strip, 2–3 cm wide
- Lenses: transparent plastic, cellophane, or glass jar lids for the ambitious
- Paint: bronze, copper or gunmetal acrylic + a dry brush
- Details: gears, watch parts, small bolts, rivets or brads
- Glue: hot glue gun or strong contact adhesive
Method 1: Cardboard Goggles (30 Minutes, Almost Free)
Perfect for your first pair or a last-minute event.
- Draw two circles (approx. 5–6 cm) on sturdy cardboard and cut them out — these are your rims
- Cut slightly smaller inner circles and glue a circle of clear cellophane behind each opening as the lens
- Stack three rim layers with glue for depth, then punch a small hole on each side of both rims
- Thread a leather strip or sturdy elastic through the holes to create the strap
- Paint everything bronze or copper, then dry-brush the edges with gold for a machined look
- Add one or two small gears around the rims — restraint is realism
Tip: crumple the cardboard lightly before painting. Micro-creases catch paint and instantly read “worn metal”.
Method 2: The Can-Lid Build (The Classic)
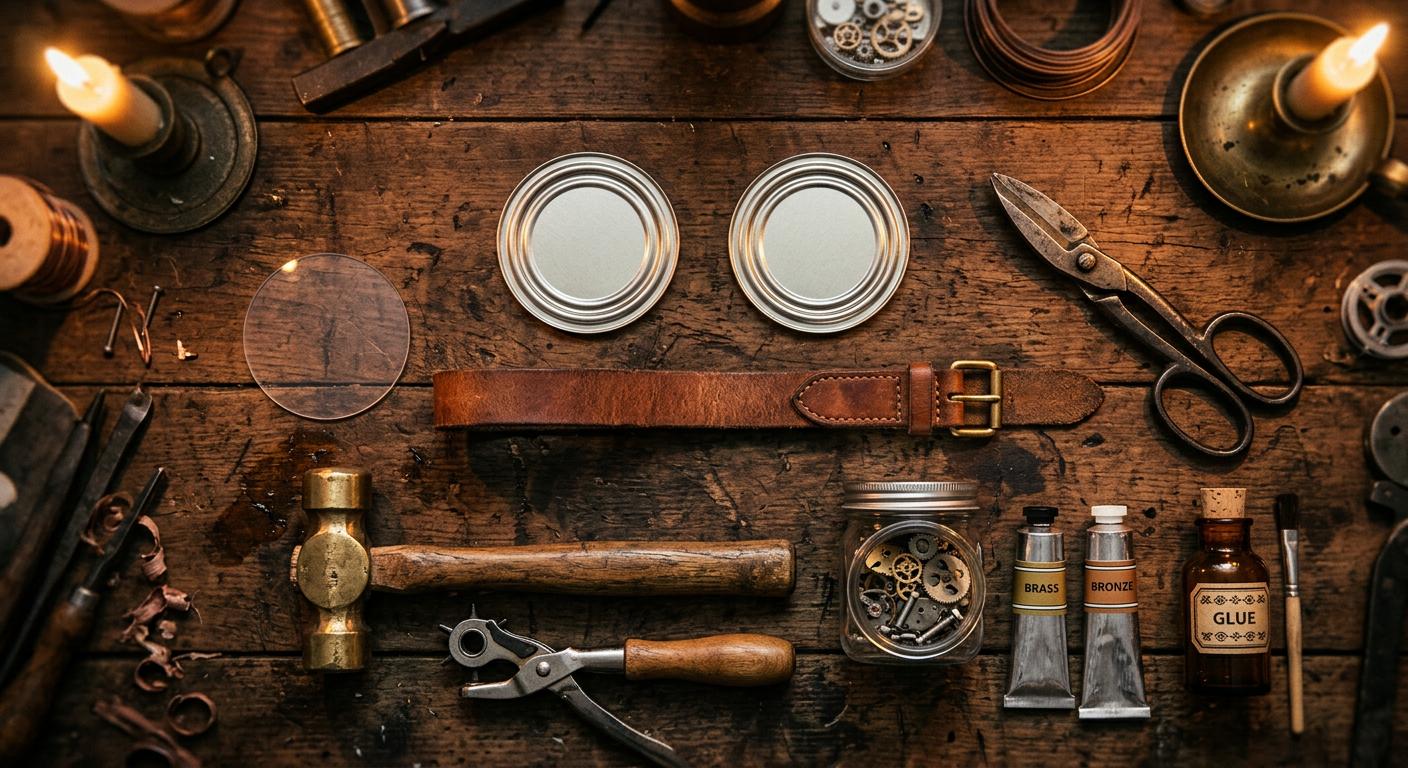
This version has genuine depth and weight — the pair that gets photographed.
- Remove two aluminium can lids (a can opener removes the flat panel cleanly) and sand the edges
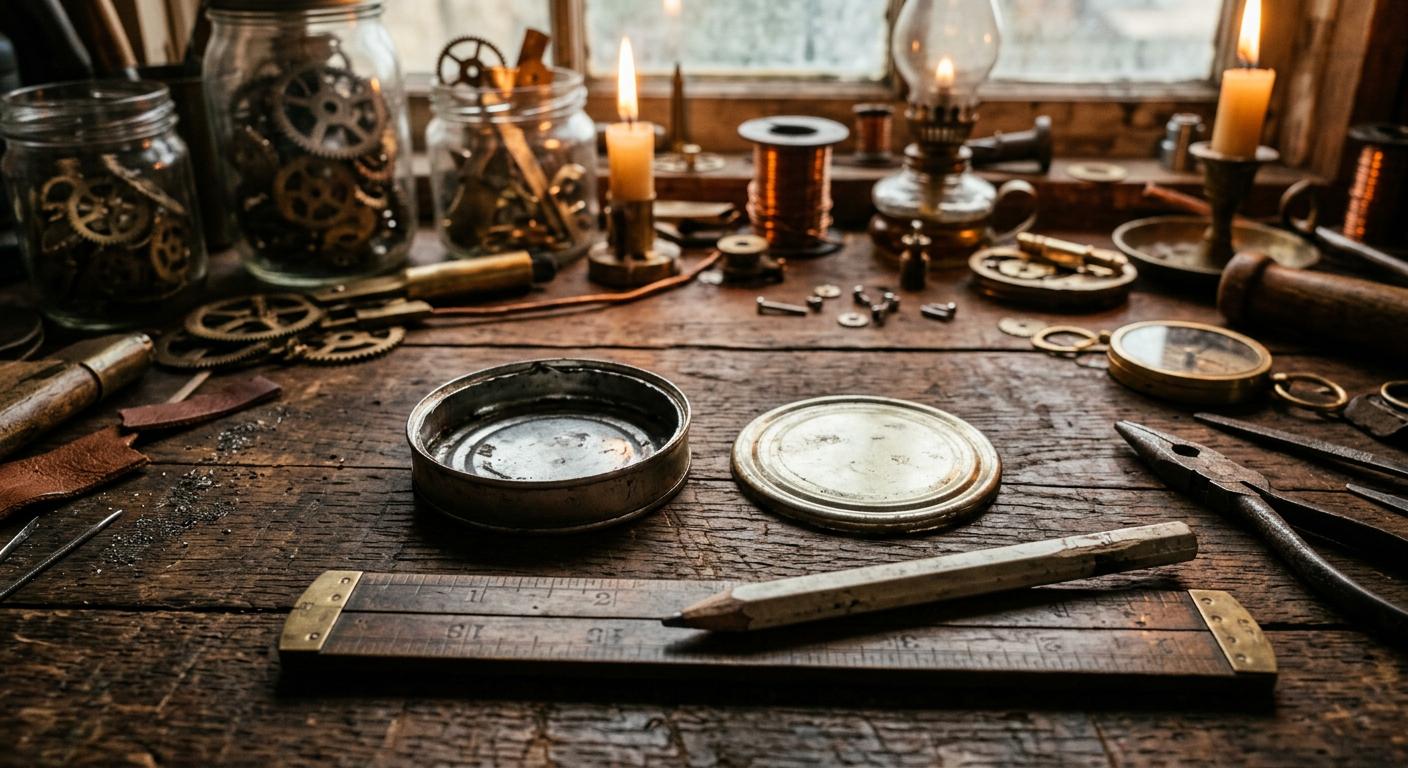
- Punch matching holes on each side of both lids for the strap
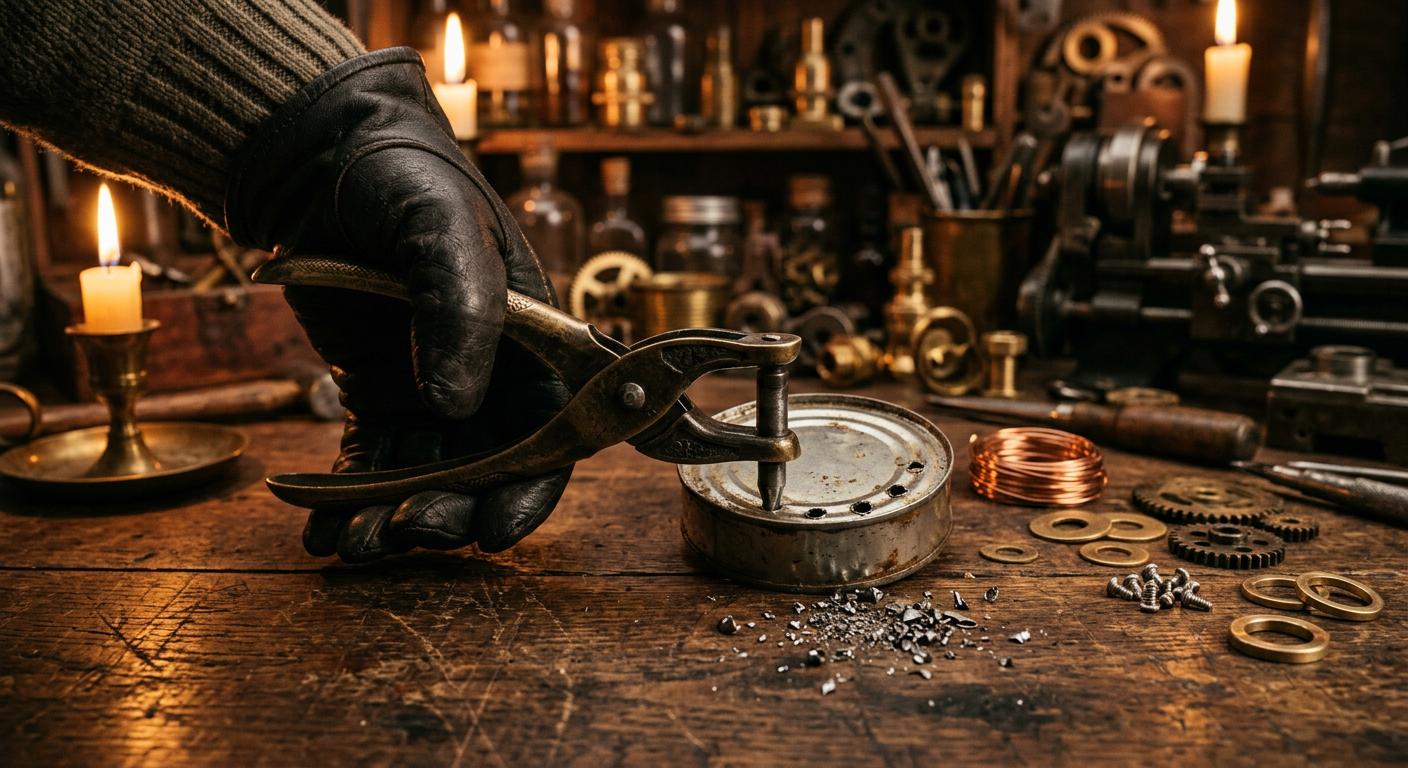
- Cut a piece of clear plastic (packaging or a report cover) into two circles and glue them inside each lid as lenses
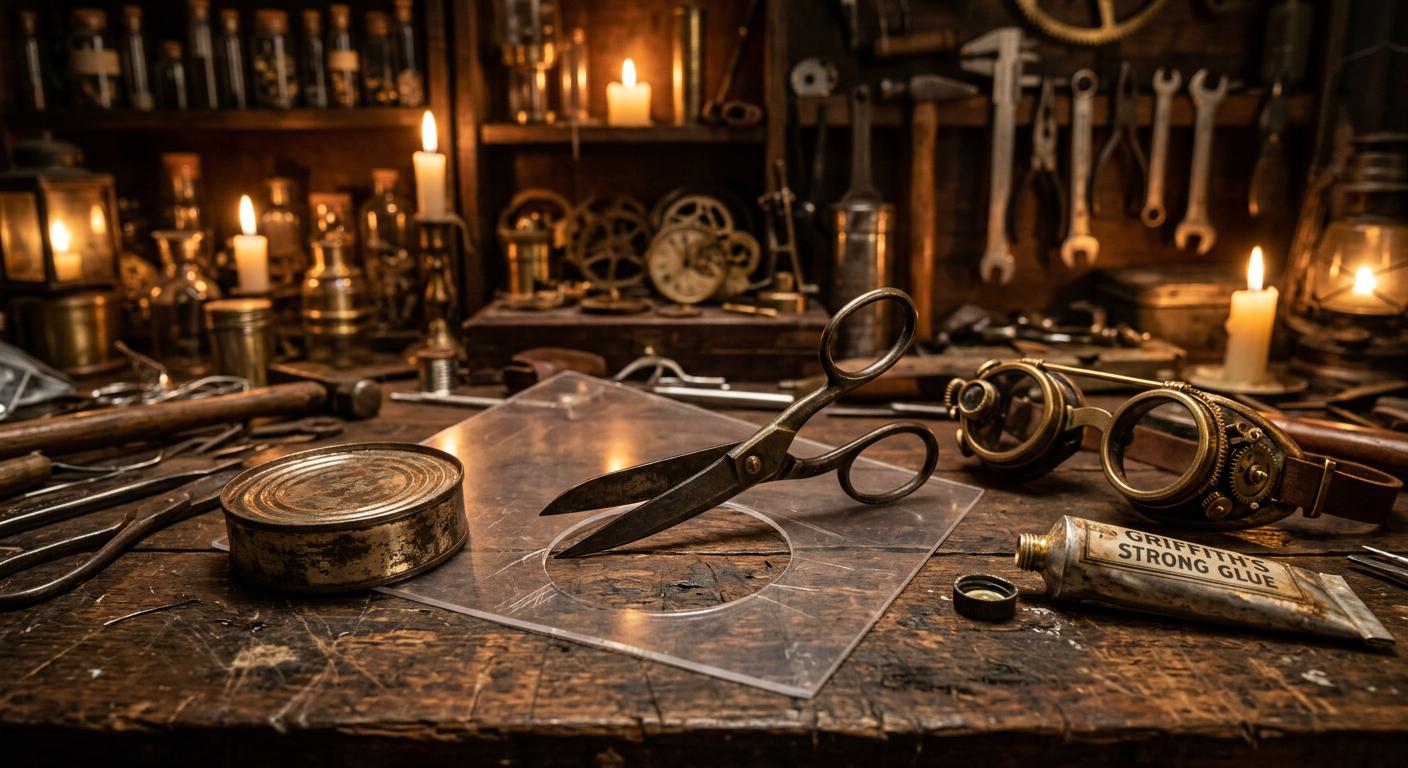
- Join the lids with the strap, adjusting the gap so they sit like a welding mask over the eyes
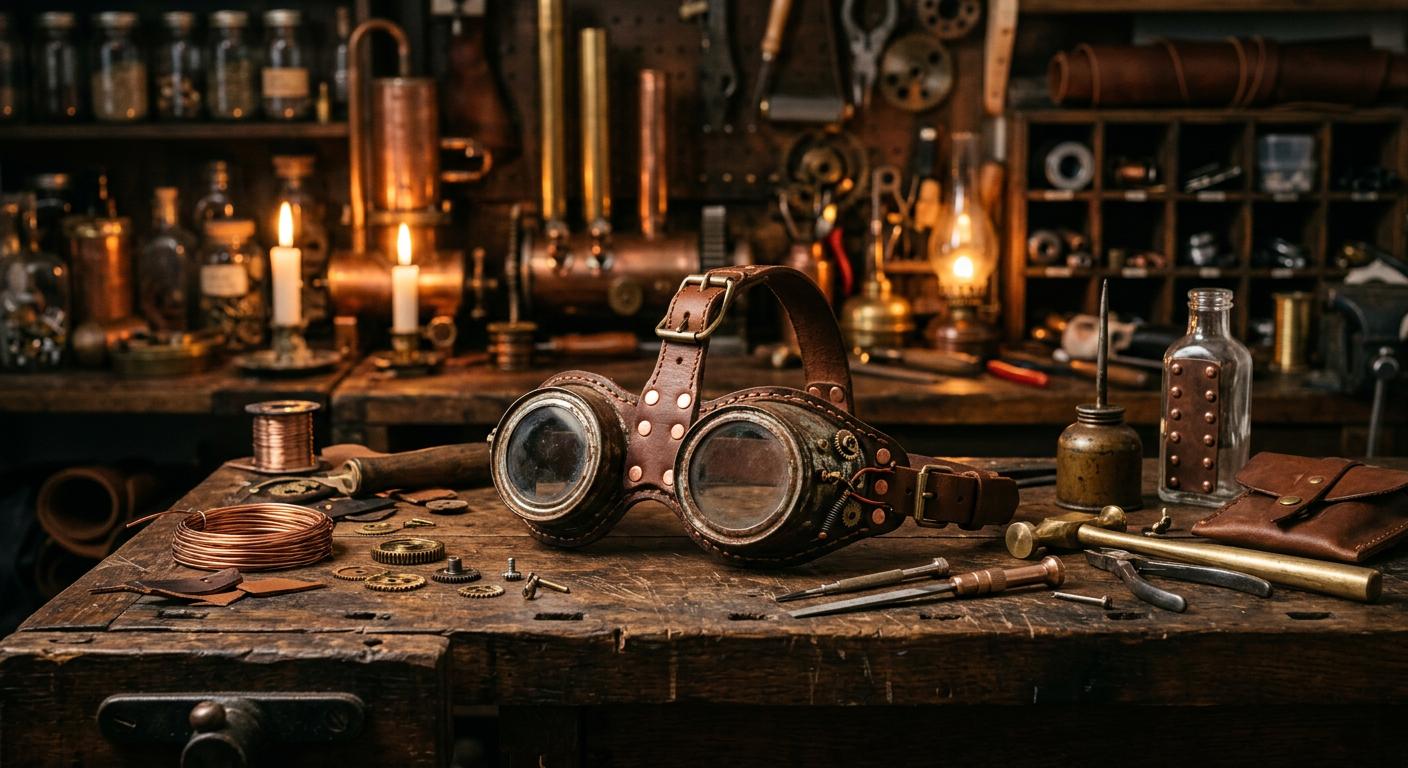
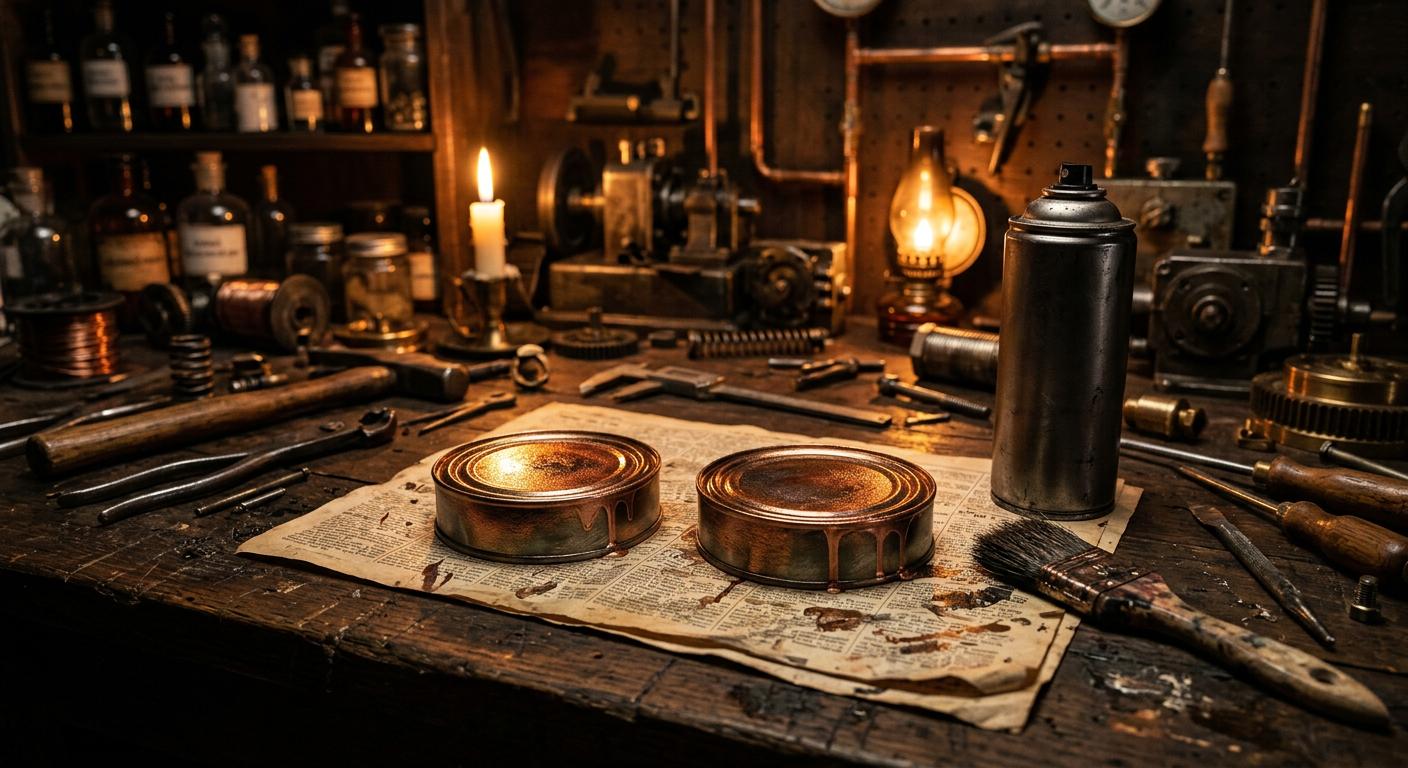
- Prime with a layer of matte paint, then build up bronze layers and let drips run slightly down the rim
- Glue watch parts or tiny bolts around the rim and add a leather nose bridge strip
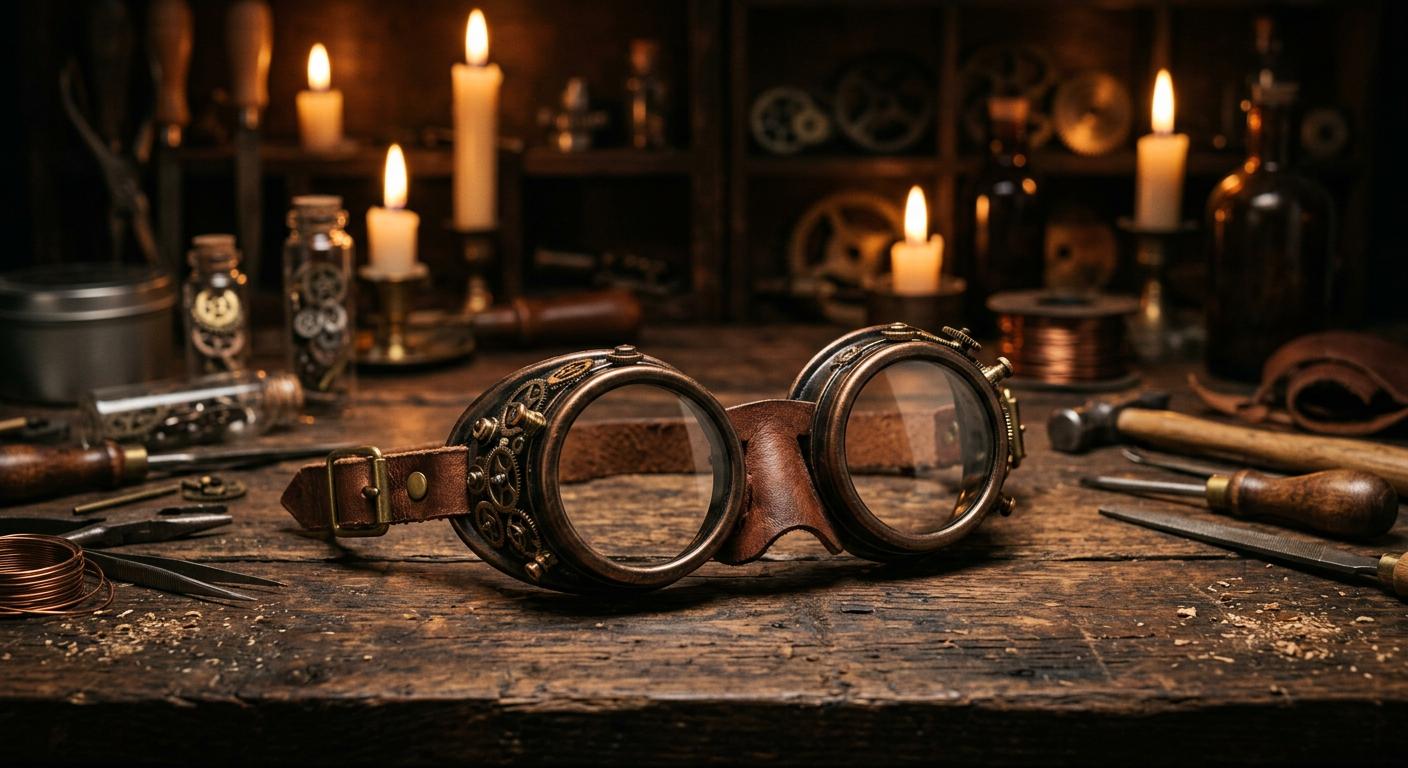
Optional upgrade: hinge the two rims together with a tiny brad so they fold flat like antique safety goggles.
Method 3: Upgrade Welding Goggles (The Premium Route)
If you want authentic weight and shade-5 glass lenses, start from real welding goggles.
- Buy basic welding goggles (often under $20) — the round, flip-up type looks most Victorian
- Mask the glass lenses with tape — you want paint only on the frames
- Paint the frames bronze or gunmetal; dry-brush gold highlights along ridges
- Add leather accents: a strip over the bridge, a wider strap, small corner rivets
- Finish with 1–3 gears max and a chain detail if you have one
This is the version you will actually keep — and it doubles as an everyday accessory for steampunk festivals.
Styling Your Goggles: Three Archetypes
| Archetype | Lens colour | Details |
|---|---|---|
| The Scientist | Clear or pale amber | Copper rims, small watch gears, clean finish |
| The Aviator | Smoked grey | Leather flight strap, rivets, matte gunmetal |
| The Engineer | Deep amber | Heavy weathering, bolt details, soot-darkened edges |
How to Wear Steampunk Goggles
- On the hat: the classic — strap around a top hat or bowler, goggles resting on the brim
- On the forehead: push them up into your hair or around a bandana
- Around the neck: hanging from the strap like a pair of safety glasses at work
Wearing them over your eyes constantly is the rookie move. Goggles are props, not eyewear — let them live on your hat.
Frequently Asked Questions
How do you make steampunk goggles?
Start with a round base (can lids, welding goggles or cardboard), add a leather or elastic strap, insert a clear lens, then paint in bronze or copper and add a few gears. The full step-by-step is above.
What can I use as lenses?
Cellophane, clear packaging plastic, report covers or safety glasses. For real glass, vintage welding goggles come with dark glass lenses included.
How much do DIY steampunk goggles cost?
Cardboard versions cost almost nothing. A can-lid build runs $5–10 in materials, and welding goggles start around $15–25 before decoration.
Where can I buy steampunk goggles instead?
Steamgears is building a shop with ready-made goggles, corsets and accessories — stay tuned. Meanwhile, welding goggles from a hardware store are the best base to modify.
Your Next Build
Goggles done? Mount them on your hat and head over to the complete guide on how to make a steampunk costume to build the rest of the outfit — base layer, waistcoat, accessories and all.
Stay tuned, inventor. ⚙️ More build guides are coming to Steamgears.
The Finished Look


Prefer to skip the workbench?
Buy the Brass Rivet Steampunk Goggles →
Flip-up lenses, adjustable strap, ready to ship.
Leave a Reply